

Above Ground Pool Deck Decorating Ideas
*Thanks to Thompson's WaterSeal for partnering with me on this above ground pool deck makeover*
All summer long we've been building an above ground pool deck. After weeks of sketching and planning and building, I finally got to get to the good part…. personalizing it!
And that's the best part, right?
So I had a mission: create a space that was easy to maintain, family friendly, yet could withstand all the rain & sun & pool water we could throw at it. Because what's the point of an above ground pool deck if you can't get it wet?
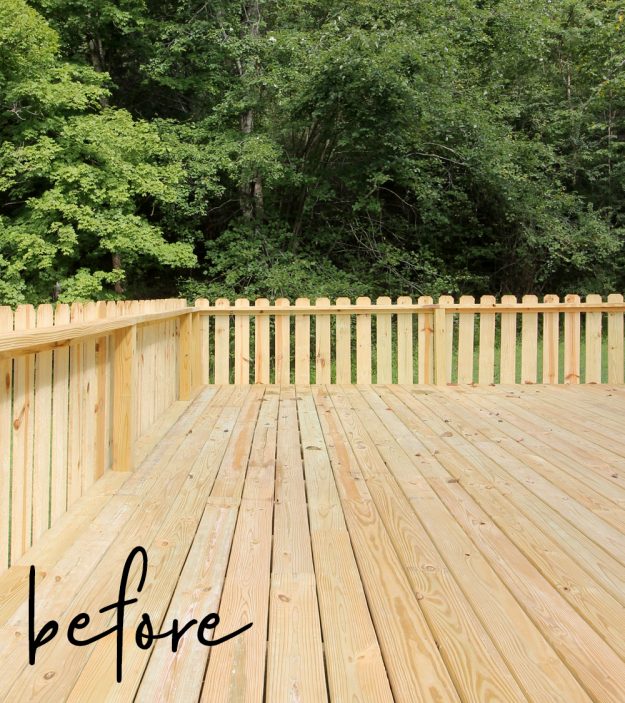
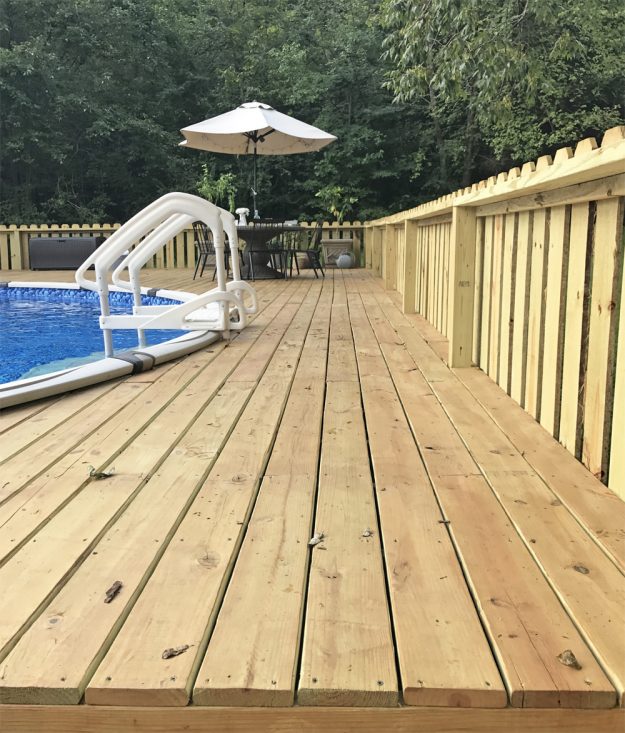
This is where we started. I'd love to be able to tell you exactly how we built what, however my job was to cut the wood and screw it down where I was told. My husband did the hard parts… like figuring it all out. At the end of weeks of building, I had a big, blank slate to work with. So this is where we begin.
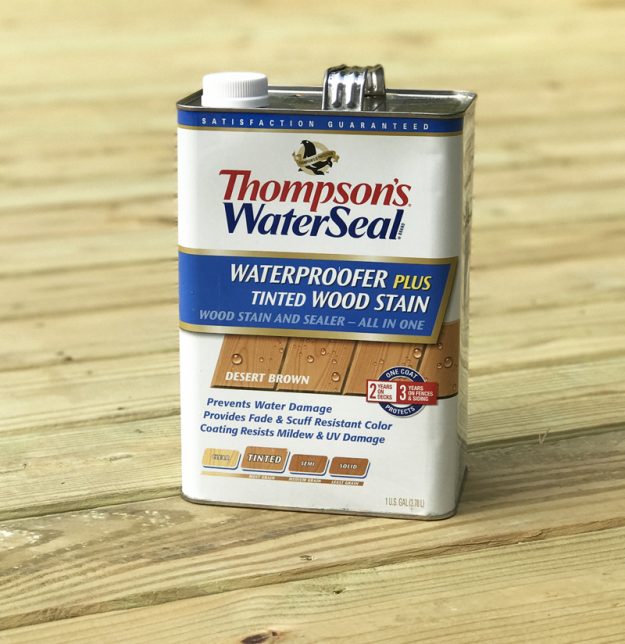
My husband and I invested so much time, money and effort into building our dream deck, so we want to make sure it lasts as long as possible by waterproofing and protecting the wood from sunlight and mildew. Thompson's WaterSeal Waterproofer Plus Tinted Wood Stain does just that! It's available in clear, tinted, semi-transparent, and solid opacity in four colors: Natural Cedar, Desert Brown, Nutmeg Brown and Rustic Red (all available at Walmart).
We chose the Tinted opacity in Desert Brown color because it was just enough color to look natural, yet even out all of the inconsistencies of the wood.
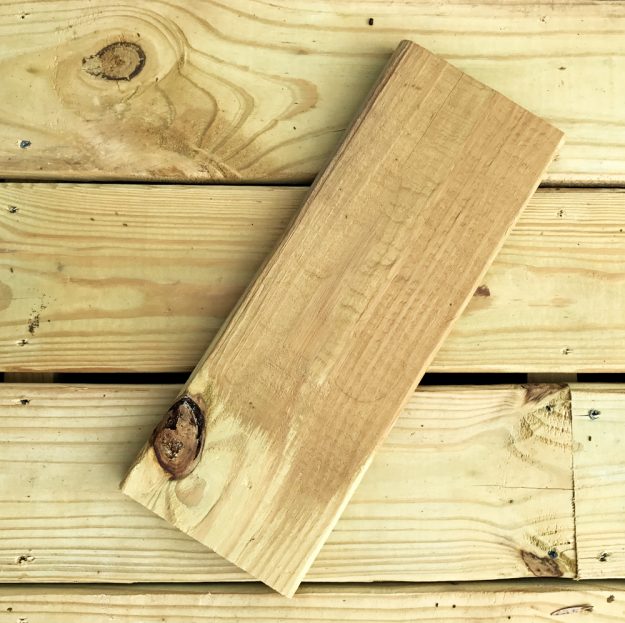
I ran into a small bump early on in the project, and I hope you learn from my mistake! At first, I chose the semi-transparent stain (versus the tinted). I didn't take into account the color of the wood…. nor did I think about the translucence of the stain.
Here's my biggest tip: DO A COLOR TEST. Use scrap boards (or an inconspicuous spot) to test the color to see if it's exactly what you want. This seems like such a common sense thing, however I forgot to do it in the beginning and had to use Thompson's WaterSeal Maximum Strength Deck Stripper to remove the area we started. Luckily, the deck stripper completely removed the unwanted color so we could start fresh (crisis averted – whew!). Don't be me… test first!
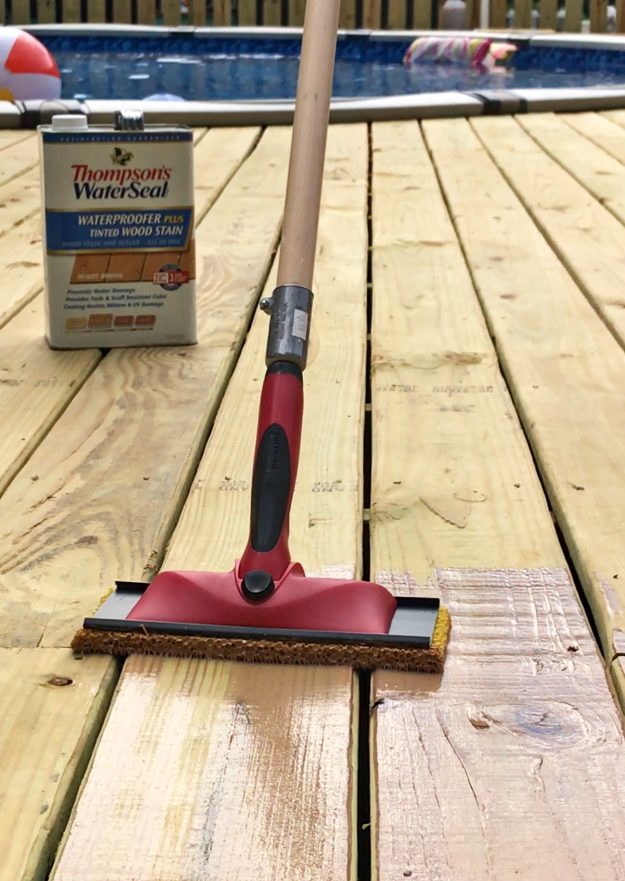
Once we got past this minor bump, I flew through the staining process. It really was quick and easy to apply! I used a paint pad and the product only required one coat to get my desired look and protection.
Here's a few more tips to helping you get the best finish possible when sealing your deck:
1. To determine if your surface is still protected, perform a splash test. Sprinkle water on various sections of the surface to be sealed. If water absorbs and darkens the color of the surface within five seconds, the surface is likely porous and ready to be treated. If the water beads up or otherwise sits on top of the surface, then the surface does not need protection at this time.
2. To get the best results, it's imperative that wood surfaces be prepped with cleaners such as Thompson's WaterSeal 3 in 1 Wood Cleaner, Thompson's WaterSeal Maximum Strength Deck Stripper, or any of the Thompson's WaterSeal wood and deck cleaners before using Thompson's WaterSeal exterior wood stains.
3. Prior to staining, remove all existing loose, flaking or peeling stain. Failure to do so will result in continued flaking and peeling. (Of course, this won't be an issue on new wood.)
4. Apply product to a small sample section of your desired surface to ensure the color you want.(see… test it out first!)
5. Read all product labels to ensure proper application techniques and to maximize results.
6. Use Thompson's WaterSeal products in outdoor, well-ventilated areas. Certain products also require users to wear protective eye gear!
7. Do not use Thompson's WaterSeal products indoors or for indoor projects.
8. Follow guidelines surrounding drying time for optimal results. Please note that all Thompson's WaterSeal products have unique drying times, so it is imperative to read product-specific guidelines.
9. Do not use Thompson's WaterSeal products on projects that can be exposed to fire or in contact with open flames
10. Do not apply Thompson's WaterSeal products during windy and rainy days or to damp wood.
Once we were all finished with staining, then it was time to do the decorating!
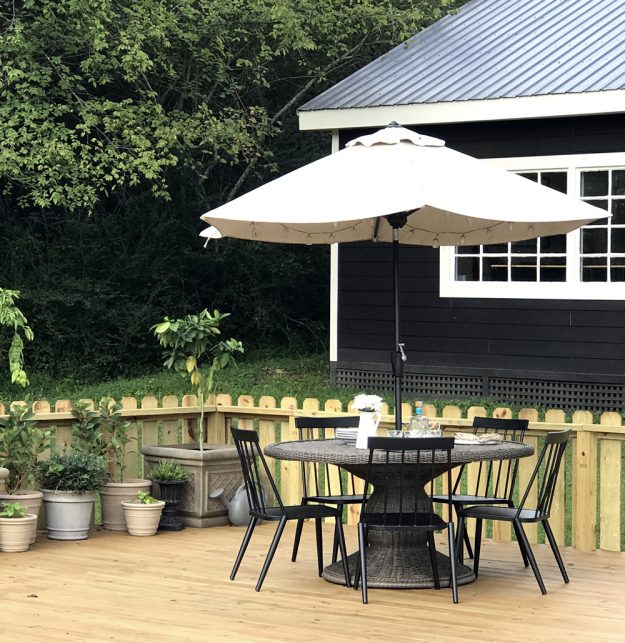
Usually I stick to a pallet of blue, gray, black & white. However the pool we wanted came with a tan top plate. So I embraced it and added in some tans. It worked perfectly with the floors!
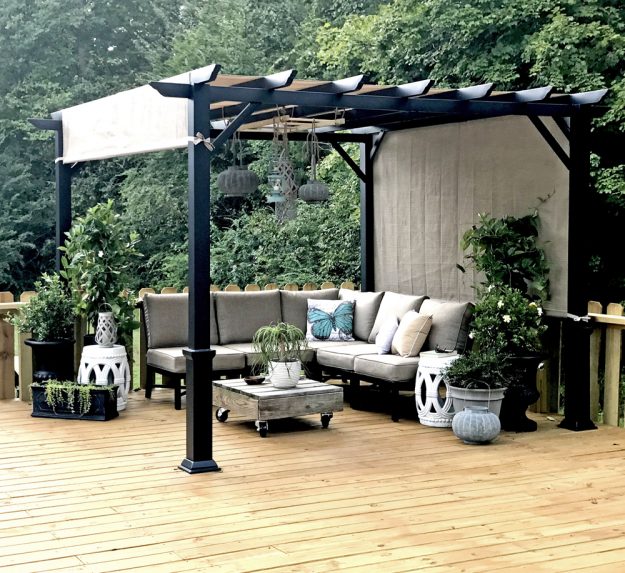
I created a little seating area with a pergola so we could get a little shade from the hot summer sun. This is the perfect way to bring the indoors out, which is a super popular trend in home décor this year. We love the feeling of having a living room outside!
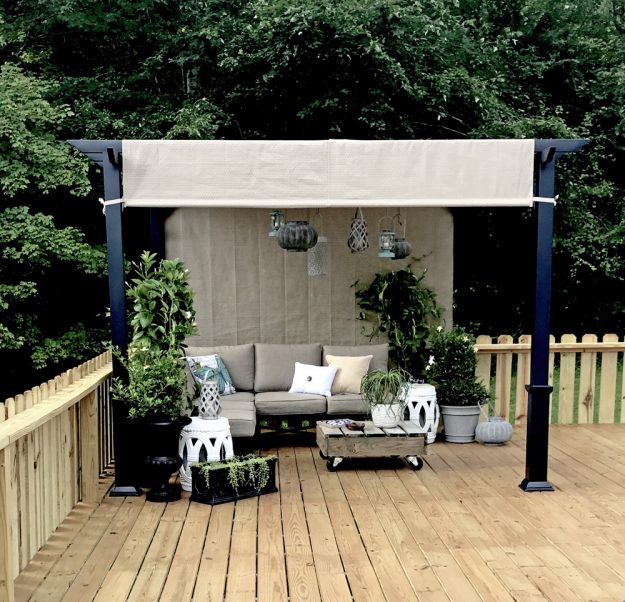
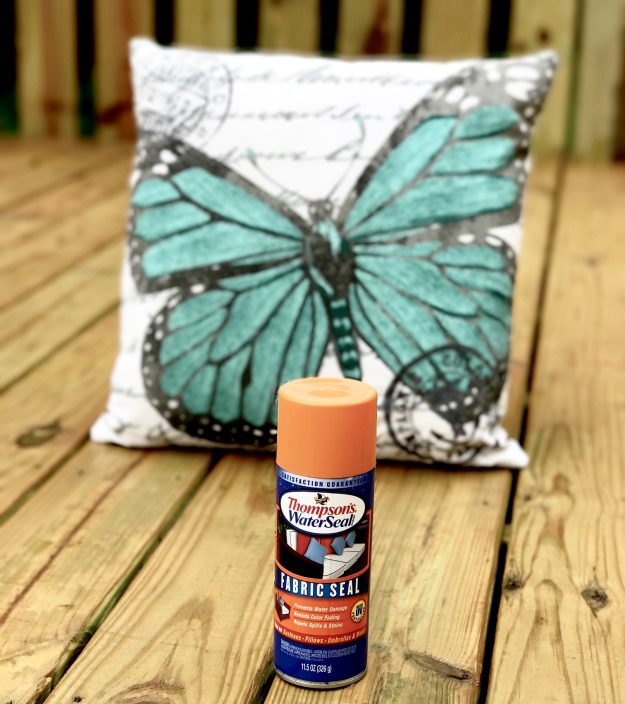
Adding in a few plants and accessories made it cozy like our own little hidden oasis. And usingThompson's®WaterSeal® Fabric Seal Waterproofing Spraywill help to protect the upholstery on our outdoor sofa and umbrella against water damage and color fading to make them last longer, too.
Thanks again to Thompson's WaterSeal for partnering with us on this project. Be sure to visit their website for more information on how to properly clean and stain your deck to make it last!
Above Ground Pool Deck Decorating Ideas
Source: https://www.theshabbycreekcottage.com/above-ground-pool-deck.html
Posted by: vaughanwhime1946.blogspot.com
0 Response to "Above Ground Pool Deck Decorating Ideas"
Post a Comment